In this post, we will set up the Redbubble account process, which is clear and easy when you follow along.
Set up Your Redbubble Account properly from the start and get to know the platform!
Sign Up to Redbubble
Redbubble has a very straightforward signup process. you will need to fill in:
- Your email
- Shop name
- Password
I recommend thinking of these before signing up.
The shop name/URL cannot be changed. later
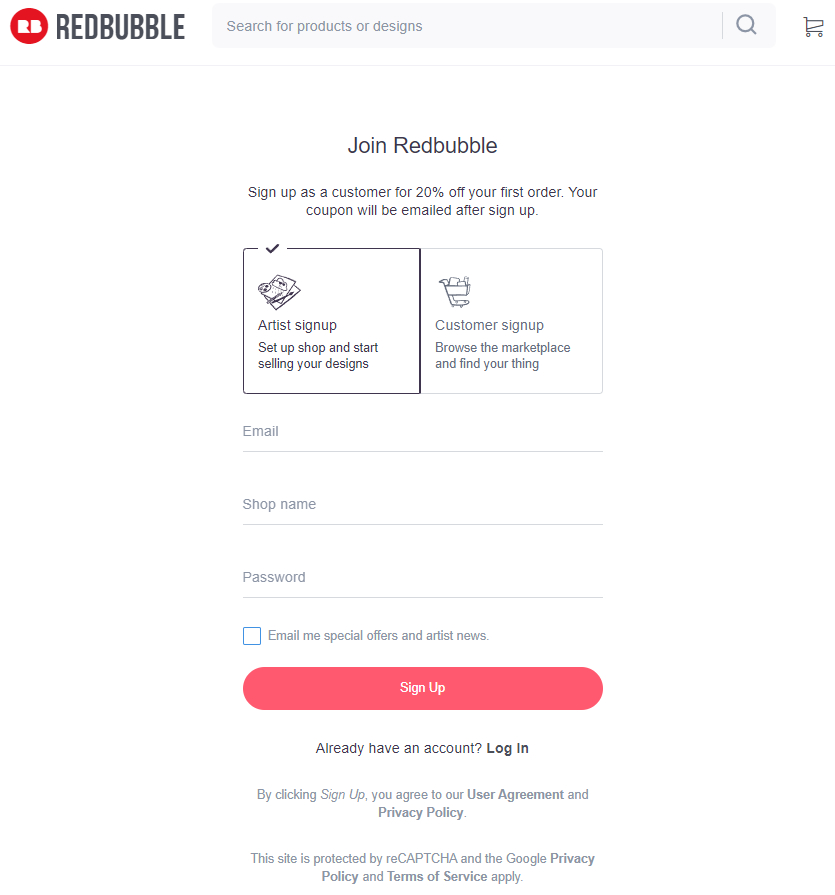
After that, you will be taken to the starter dashboard which will have obvious instructions on what to do next.
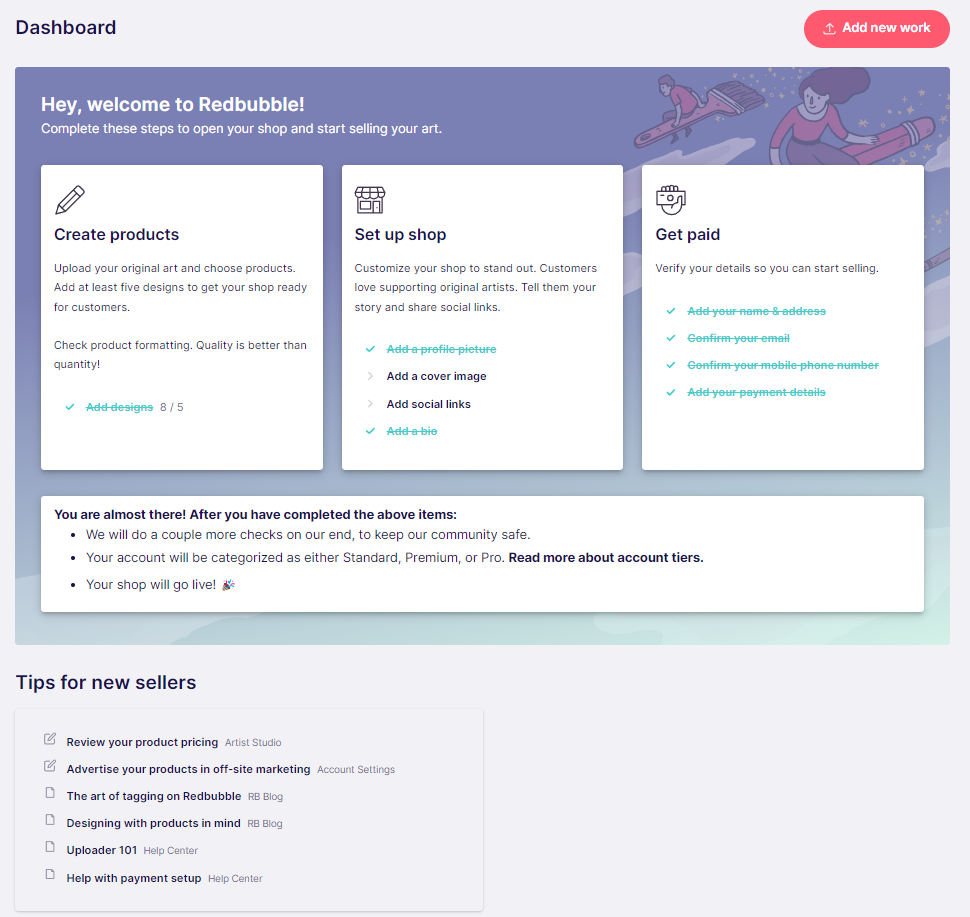
In this image, I already completed some of the steps.
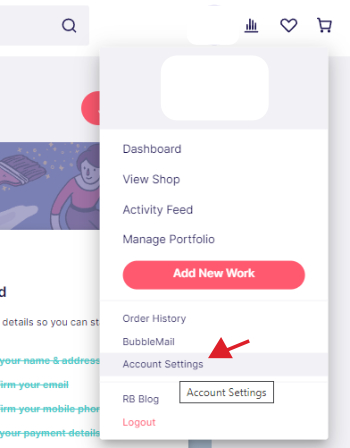
Click links in a dashboard or go to Account Settings to complete your profile.
Set up your Redbubble store profile
To set up the store you will need:
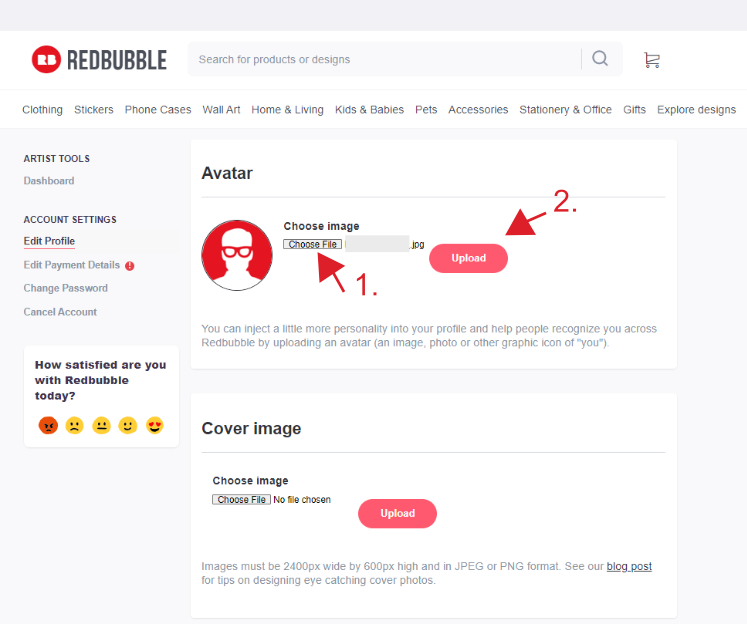
Profile picture
It can be an image of you, or it can be a logo of your shop.
I personally use Canva to create logos for my Print on demand shops.
Cover image
You can make a cover image with Canva too, it has to be 2400px x 600px.
Upload the Cover image the same way you uploaded your logo.
Profile details
Fill in your profile with the following information:
- Your first name
- Last name
- Choose to Display your shop brand name or your name.
- Email address (you will need to resend the email to confirm if you haven’t yet at this point. Do this before setting payment)
- Tick the box if you want to show your age, and country or allow users to send you messages through bubble mail (Allow BubbleMail, unless you are a super busy person).
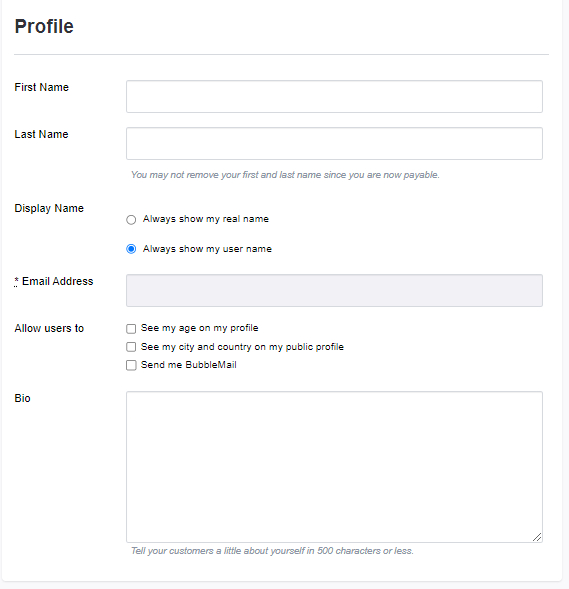
Bio
Write a small bio about yourself and your shop (500 characters or less). It is guided to include your location, identity, influencers, type of art you create, topics, styles, cases that inspire you, and perhaps big names you have created art for.
—
Fill in the rest.
Notifications
Tick the ones that are relevant to you. Here I noticed I didn’t tick Bubble Mail messages, it is one you may want to check because it is RedBubble’s DM system, people can contact you.
Copyright
Put your shop name.
Offsite marketing
Allow Redbubble to advertise your products.
Image-settings
You can prevent others from pinning your work if you want to.
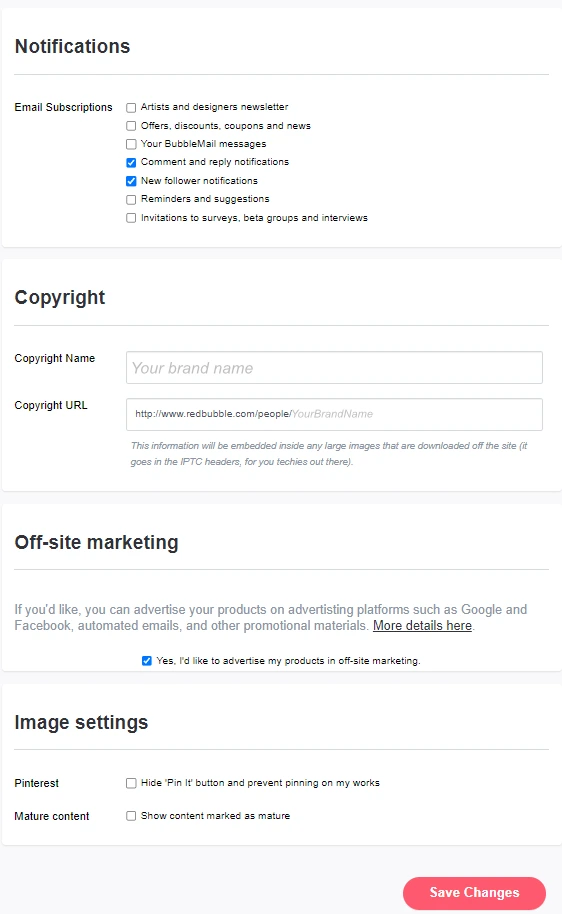
Save settings.
Set up Payment
On the Payments section, your name and email will be filled in.
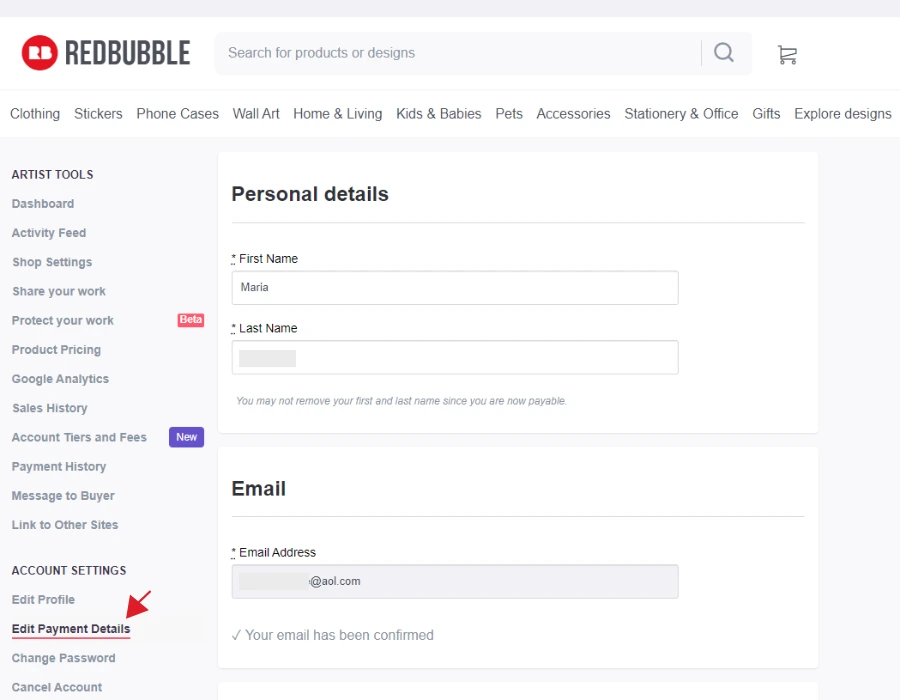
You will need to add:
- Your address
- Taxes, check if this applies to you
- Choose payment currency
- Choose a payment option, and deposit money to a verified PayPal account or Bank account (this cannot be changed later).
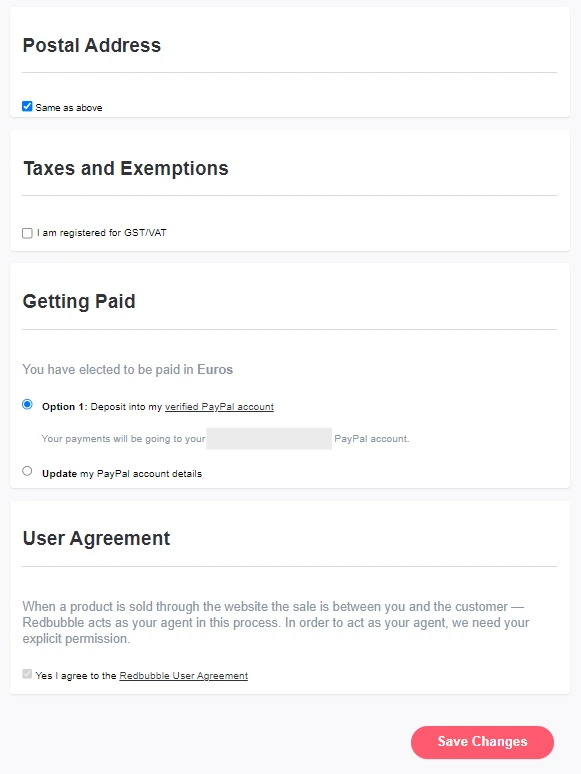
Save settings and that is basically it.
Additional Redbubble settings
Protect your work
Redbubble offers a few options to protect your work.
Go to ‘protect your work’.
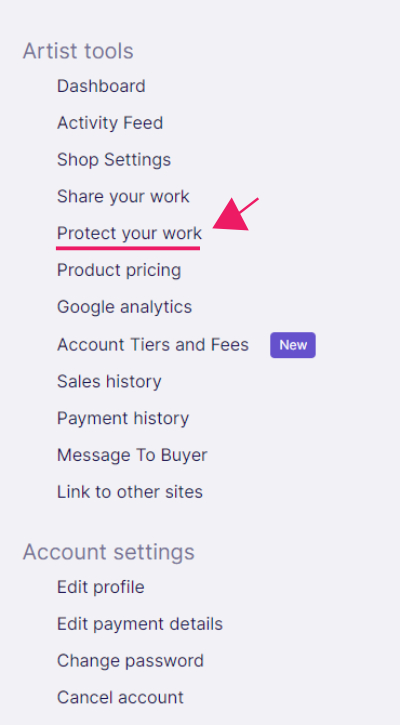
Open it up and choose options that suit best your preferences. I personally use these two.
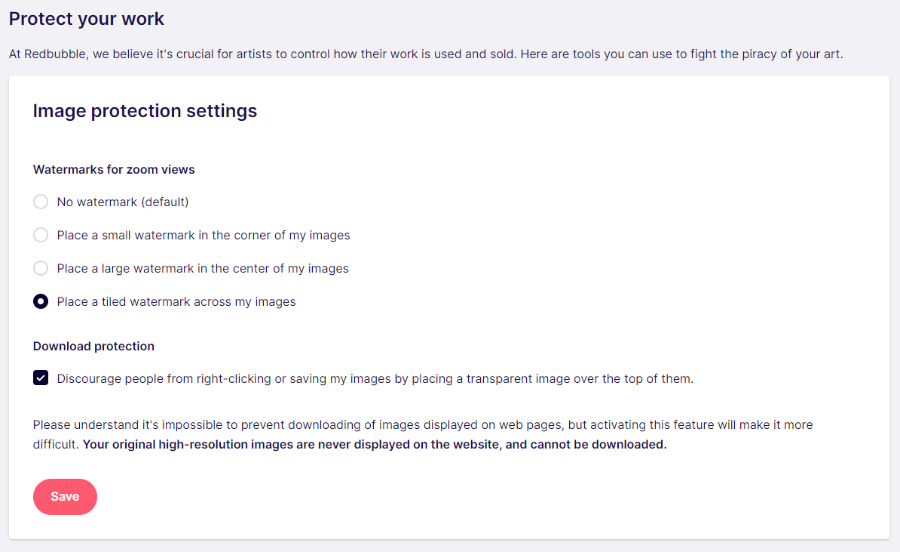
And save.
Set up your Artist margins
From Account settings choose Product pricing to set up your royalties for Redbubble.
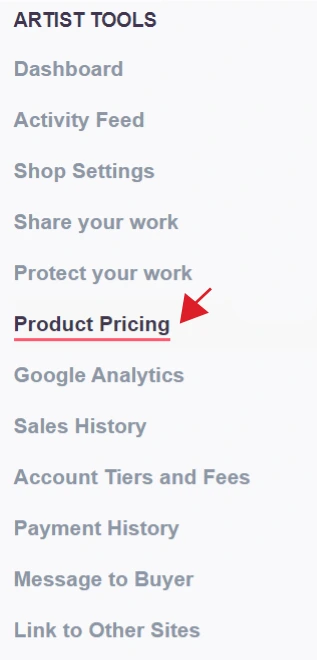
Set up your artist margins. If you are very good and create unique work then don’t be afraid to set your margins higher.
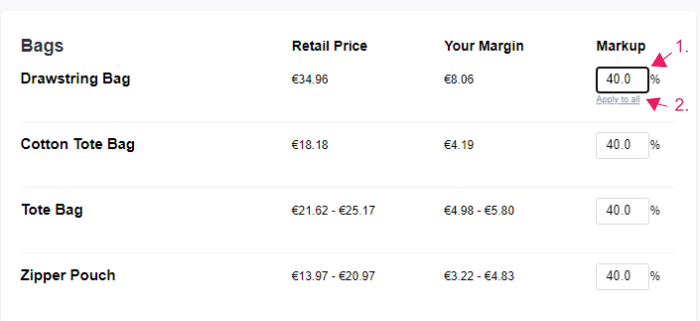
On Redbubble settings will be by default at 20%. As a beginner (for new accounts), you may want to put lower margins to see what sells and later raise them up.
If you are super good then raise your margins.
And save.
Google Analytics
You can add Google Analytics and this way tracks better where people are coming from. This way you can put your marketing efforts to SEO or share your designs on Social media depending on how people find you.
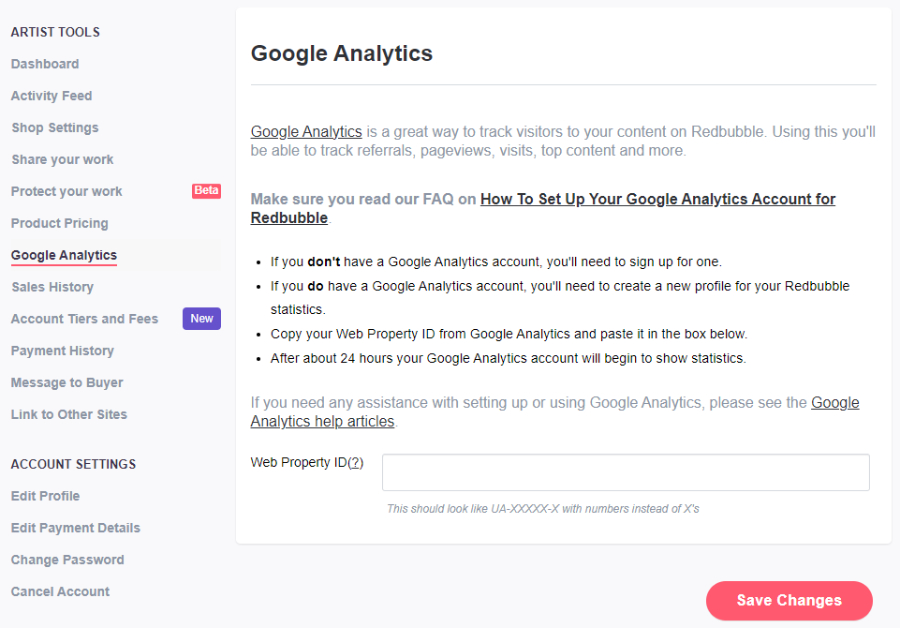
The instructions are very clear.
Add links to other sites
If you have social media presence that is closely related to this shop, then add those links in this section.
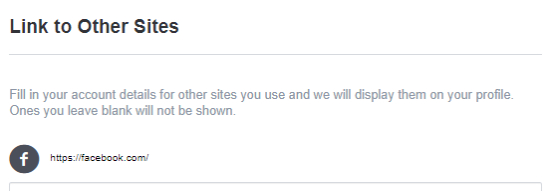
Redbubble has space for the following Social media links:
- Tumblr
- Dribble
- Behance
- Deviantart
- Flickr
- Google+ (No longer relevant)
- Your own website
At this point, your basic Redbubble account setup is done.
Congratulations!